


Project Baby! Month 3 (Part 1)
Okay, this is kind of a big project so I split it in two parts.
It's a baby afghan! There are countless ways to make one. Here is the process I went through.
1. Decide on your dimensions. Mine is 8 squares x 10 squares. If you do a square than the pattern will make one complete cycle and have clean diagonal lines.
Like this:

I wanted mine to be a rectangle for some reason. So, after the pattern has made it all the way through it will repeat for 2 more rows. (You'll get to see it in part 2!)
Of course, there are tons of pattern options so you don't have to do it like this. I played around with it after I made all of my squares.
2. Once you know how many squares you need it's time to pick the colors. I chose 6 lovely colors. Then I played around with color combos until I settled on my 8 favorites.

3. Finish your squares!


Stay tuned for part 2! It will be posted once I finish the afghan. Should be very soon.
-Krystle
Project Baby! Month 2
Okay, technically I made this for a different baby. BUT I'm making another one with a few different colors for this baby. So, here it is. This time I didn't write the pattern, I found it on this awesome website that has tons and tons of free patterns. Here's the link to the pattern.
Here is the finished product. (FYI this was only my second attempt at amigurumi and it went off without a hitch). If you're just a beginner at amigurumi this pattern is pretty informative and easy to follow.


Project: Baby! Month 1

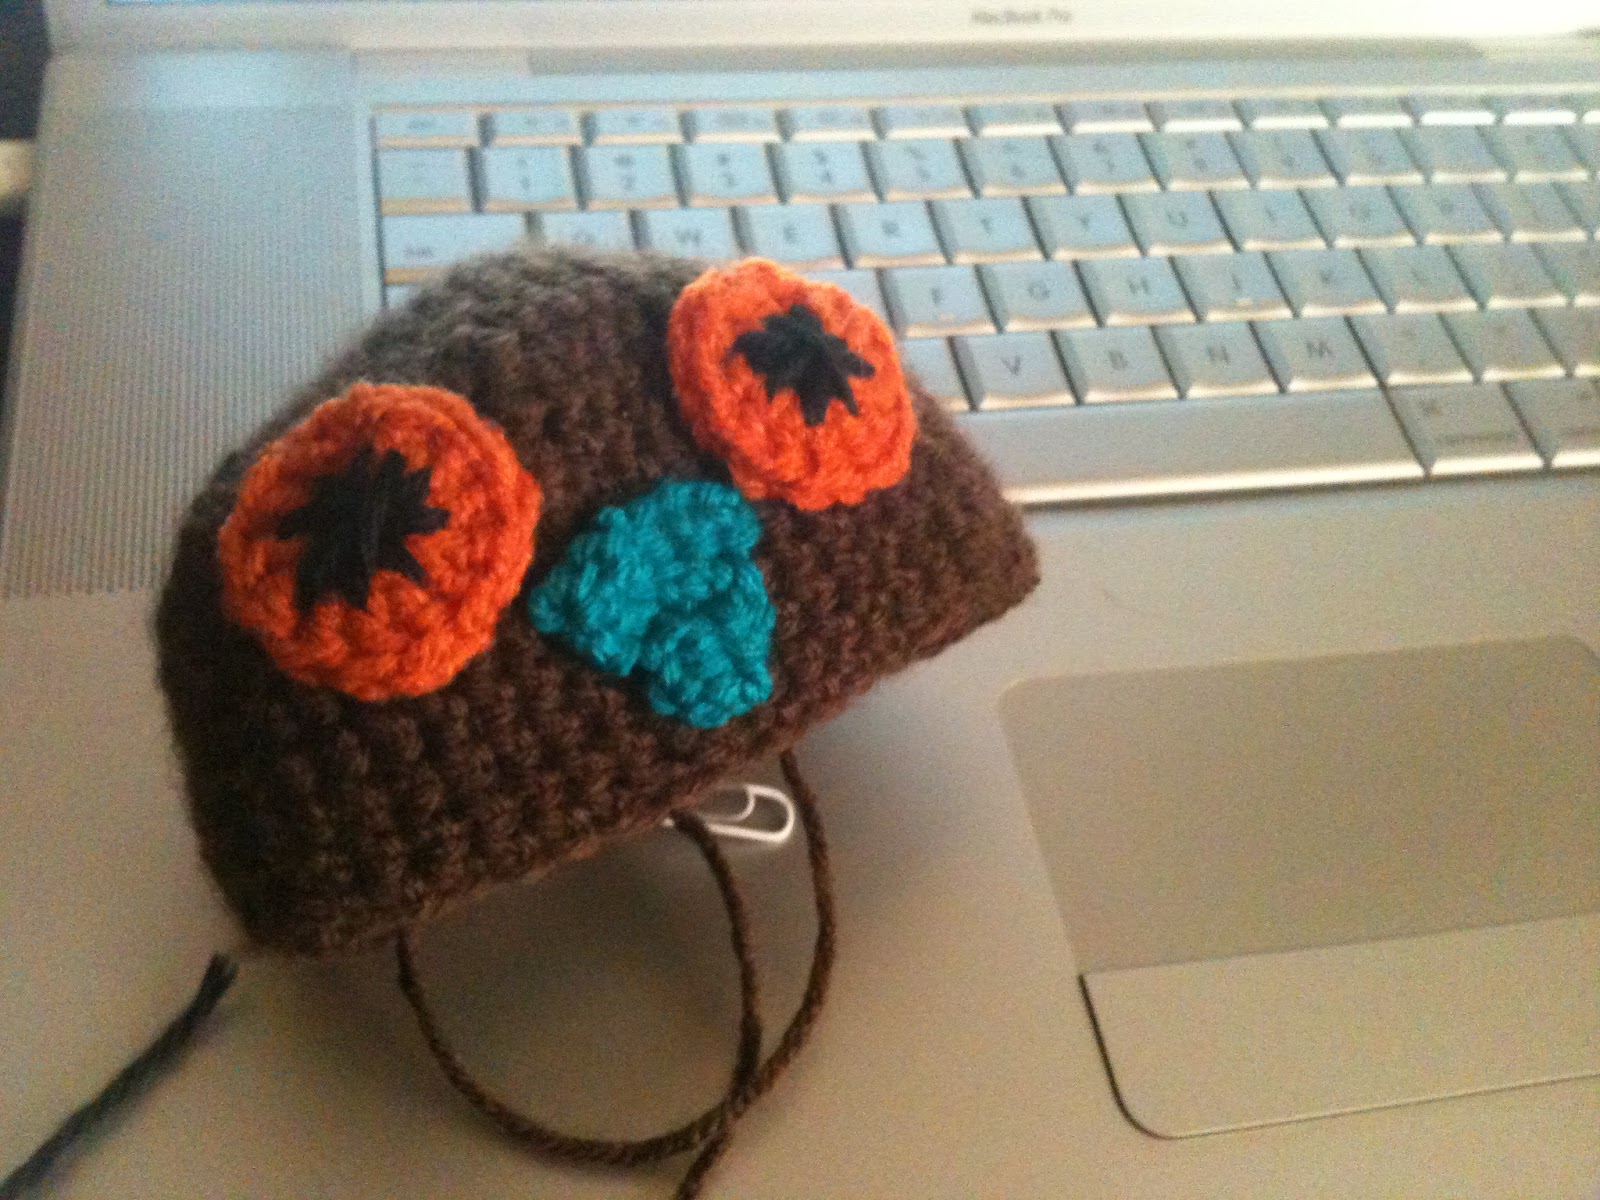
I wanted to start with something simple. So, what's easier (for me at least) than a baby beanie? :-)
I'm going to provide the pattern for you in 2 versions - one in simple terms and one in actual pattern form.
I literally stopped after every round and wrote down what I did, so when I say I wrote this pattern as I worked, I really mean that. If you have any issues with it, it is probably because I'm not accustomed to writing patterns or following them, so just ask.


Hello Ladies presents: Project Baby!
Well, in lieu of the exciting announcement by our very own Mandy:

There will be a new feature here called Project Baby! :-). Each month until the baby is born we'll share at least one new project with you! So when the baby finally arrives he or she will have lots of special handmade gifts!

The projects will be fairly simple so if you also have expectant friends or family, feel free to get inspired and join us in Project Baby!
We're going to get started tomorrow, so check back for the first installment of Project Baby! AND Congrats to Mandy and Brand!! I'm super excited to be an aunt this year.
-Krystle
DIYness
I promise we have not dropped off the face of the earth, we have just hit another BUSY stage in our lives and we are getting some things worked out. I have made the CUTEST tree skirt on the planet and it was the easiest thing on the planet. I have all the pics and DIY goodness and will post real soon! Stay with us, I promise it will be worth it.
On another note, for everyone local, Hello Ladies has a booth at the Blue Suede Shoes Antique Store in Bryant. Inventory will be up before December – right in time for last minute Christmas Shopping!!!!! Will let you know when it is ready!!!!!
~mandy~
Fabric Coiled Coasters ….. fail
So I have been seeing these really, really, really cute pics of fabric coiled coasters ALL over Pinterest, so I decided that the girls and I would try our hands at them this past weekend….. It didn’t go well.

The instructions were great on this tutorial and I loved how theirs turned out …. but ours didn’t turn out so great. I apologize for not getting pics of Gabby and Kayla’s finished project.
![IMG_2373[1]](https://blogger.googleusercontent.com/img/b/R29vZ2xl/AVvXsEiaKrcLKEctYpJcaLSgvHu8bce8PF028H0b9QxfhYJ98scpfP4Y9MwKIdnUSpptD9ZTKH_7O7IF5xxiIG0JHUKZF8ezu5qmOZfw60MA2Im_4bJANHxTkcqUliqLgNC-uAkJc_v76bSKv-w/s1600-h/IMG_237314.jpg "IMG_2373[1]")
The best part of the night was ripping the strips of fabric we needed.
![IMG_2374[1]](https://blogger.googleusercontent.com/img/b/R29vZ2xl/AVvXsEh9ILa5ILqA0JagRWU3Adh91jRuqHnIbwp5m0T5KGjyBNL-CikfjEjYT_ePEiBMe8CV7YrxigqYntnNvH59t1YUGT1_Grcx77c_dqaGV54pu0bplWknUPwm1wnSwKGvp27FhFqt2eDWpmQ/s1600-h/IMG_237414.jpg "IMG_2374[1]")
![IMG_2375[1]](https://blogger.googleusercontent.com/img/b/R29vZ2xl/AVvXsEhGxN9Tr-KWyMccGjNynmDeN91FW5gpazW5BDCfH2iEtVO-pjfDiyBn9KDE4T28Lml7NWbii52lBjFNMO8cvkuNbTx9W6cZAxAVmzaC_u5dMHDTCoCdwo4ryD8xxgvG6SOq3kTWDRIP9_4/s1600-h/IMG_237514.jpg "IMG_2375[1]")
I blame my choice of fabric mostly, but it was A LOT of work and I wasn’t please it how it came out. I may try it again one day…. maybe not, who knows. If you work on it and it comes out better…. let me know. :)
~mandy~
Blog Lovin’
In case you were interested …. and I know you are, swing on over to Jessica’s art blog…. it is pretty awesome if you ask me, and you did….. :)
http://technachroma.blogspot.com/
You’re Welcome
~mandy~